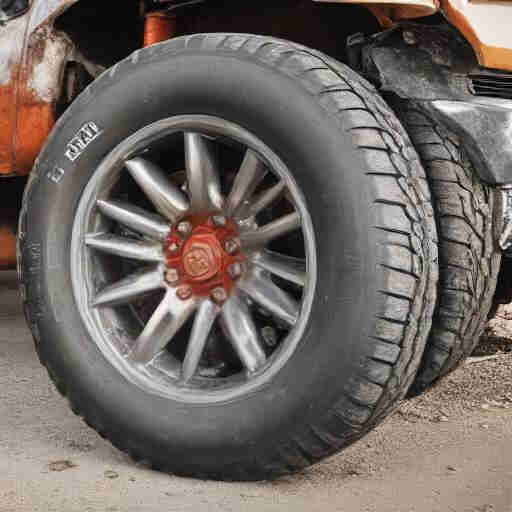
A flat tire can happen when you least expect it, leaving you frustrated. Learning how to change a flat tire will save time, money and stress. This guide will explain the process in a very clear way. These steps provide guidance for handling this common road-side test whether you are an experienced driver or have just bought your first car.
Required tools
You need to assemble the right equipment before starting. Here is what you should have:
- Spare Tire: Ensure that it is in good condition.
- Jack: The jack needs to be used for lifting the vehicle off the ground.
- Wrench (for Lug nuts): This is required for loosening and tightening the lug nuts of your wheels.
- Wheel Stopper: It won’t let your car roll away.
- Hand protection: A good pair of gloves protects your hands from getting dirty and injured.
Safety First
To start with, it’s important to focus on your own safety before you start changing the tire.
- Find a Safe Location: If you are on the street, look for a flat and stable place away from traffic. Wherever possible, pull into a well-lit area.
- Turn on Hazard Lights: This will warn other drivers that you have stopped.
- Engage the Parking Brake: This keeps your vehicle from rolling while you are working on it.
- Use Wheel Chocks: Put behind the wheels that remain on the ground to provide extra stability.
Step-by-Step Process
Now that you’re ready, let us take a plunge in changing flat tires.
Step 1: Remove the Hubcap (if applicable)
In case your car has hubcaps, remove them carefully using one of the flat ends of the lug wrench or some other equivalent instrument. While some hubcaps just pop off, others may require more work to remove them.
Step 2: Loosen the Lug Nuts
Using a lug wrench, release all lug nuts attaching your wheel to its hub. Turn each nut counterclockwise but do not take them off completely just yet. When they become stubborn, remember that sometimes you may need to exert some force; alternatively stand up directly on top of your wrench to make use of body mass.
Step 3: Jack Up the Vehicle
To start with, place the jack under your car at its designated lifting point, which is usually provided in your owner’s manual. See that it is firm and then lift your vehicle high until you see the flat tire hanging above. Be careful not to insert any limbs under the car when lifting.
Step 4: Remove the Lug Nuts
Now remove all lug nuts completely as soon as a tire is raised. Put them in a small box. After unscrewing nuts, carefully take off the deflated tire away from its hub.
Step 5: Mount the Spare Tire
When you put on spare tire align it with a wheel hub and slide it on this hub. However, make sure that holes of the spare tire correspond to wheel bolts. In addition, ensure it has been pushed entirely towards this hub.
Step 6: Hand-Tighten the Lug Nuts
At first replace all lug nuts over bolts and ensure to tighten them by hand alone; this will hold them in place and avoid cross-threading.
Step 7: Lower the Vehicle
Gradually drop down your vehicle using jack again till it will touch normal ground fully after which remove this tool from beneath it.
8th step: Fasten the Lug Nuts
With a lug wrench, tighten every lug nut in a pattern similar to that of stars. This implies you will have to tighten one nut then go to the one across and so on. That is why this is meant to ensure equal distribution of force.
9th Step: Replace the Hubcap (if applicable)
If your spare tire is a complete-size tire, then it’s okay for you to replace the hubcap. Nevertheless, if it is a temporary spare then maybe you should just leave it off because such tires often come with different designs.
10th step: Put Away Flat Tire and Tools
Put back all tools and your flat tire in your vehicle. Ensure everything is fastened so that there are no movements during driving.
Final Checks and Maintenance
After changing your flat tire it’s important that you do:
- Check Tire Pressure: When your spare wheel happens to be full-sized, see that it has enough air in it.
- Inspection of Flat Tire: Check if there are any notable signs of damage which require fixing or replacing the flat.
Conclusion:
Having the ability to change a flat tire equips an individual with confidence when dealing with unforeseen circumstances. By following these steps, you can safely and efficiently change a tire and get back on the road.
Leave a Reply